Draft Angles for Injection Moulding
Draft angles are a key design feature that should be one of your top priorities when designing a high-quality injection moulded part. Without sufficient draft (taper), parts cannot be cleanly released from the mould and risk being damaged or broken. In the worst-case scenario, parts can damage the mould by getting stuck, and when moulds cost tens of thousands, this can be very costly. Below we will discuss why a draft angle is critical and how to apply it to create an efficient, high-quality production process that prevents unnecessary setbacks.

If you would like to find out more on the injection moulding process, check out our resource on it here or head over to our injection moulding design guide for a brief overview.
What are draft angles and why are they important?
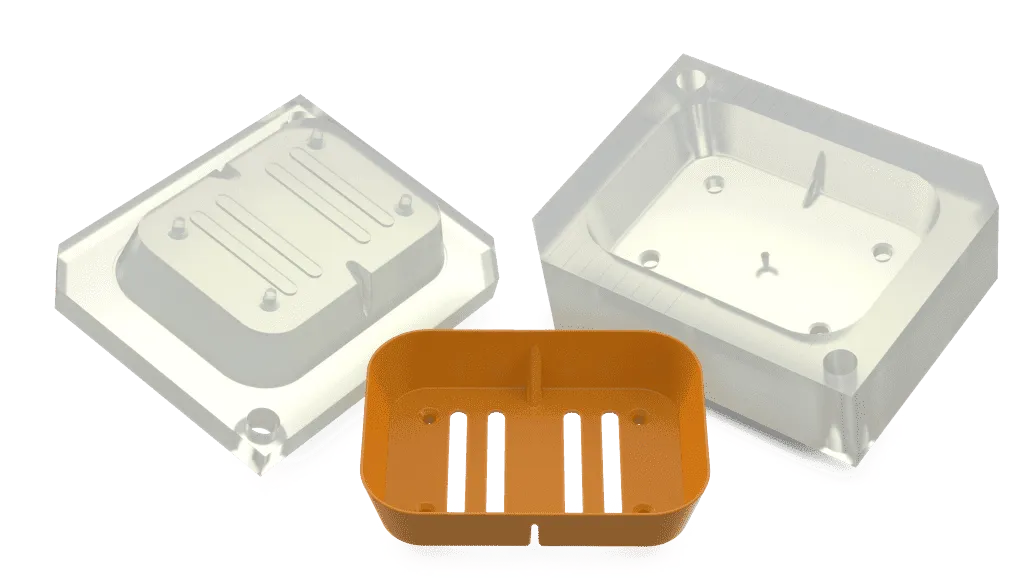
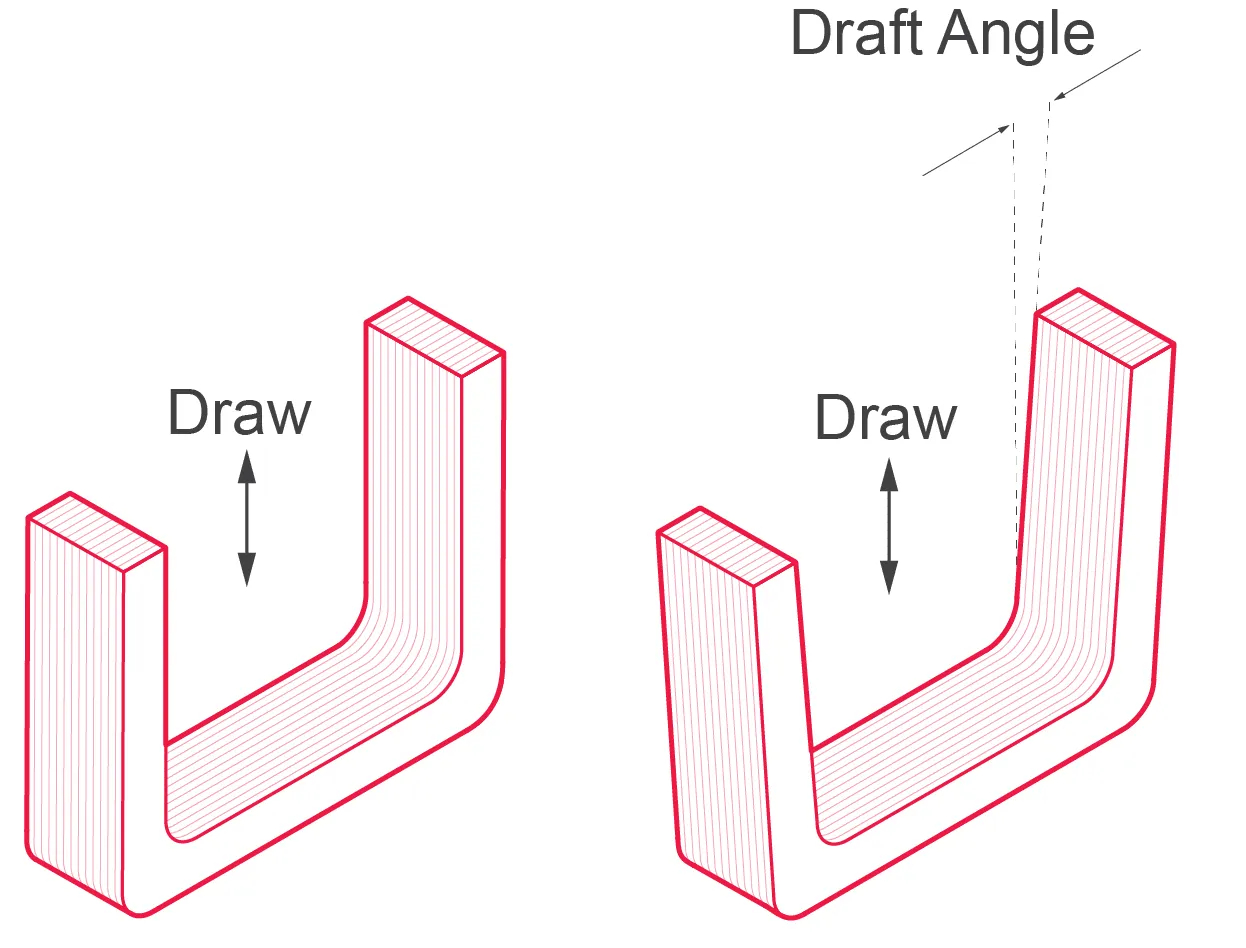
Draft angle is the degree of taper added to the side of faces and features on a moulded part. It can be measured in degrees or mm/mm. To answer why draft angles are important, we need to understand what happens during the injection moulding process. Parts are created by injecting molten plastic into a cavity (mould). When the plastic cools, it shrinks and grips to the mould. A draft is added so the part can be pulled away from the mould with minimum friction against the mould. Excessive friction will result in quality issues on the part and, more expensively, will reduce tool life.
Benefits of draft angles in injection moulding
In the process of injection moulding, a draft angle of 1-2 degrees is typically recommended for most parts. This guideline is applicable for parts with mould depths up to 50mm. With this draft angle, the part can be easily and non-destructively released from the mould, considering the expected shrinkage of the thermoplastic material.
- Reduces the possibility of the part being damaged when released from the mould
- Prevents the mould from excessive wear from the part ejection
- Ensures a clean, consistent and uniform surface finish
- Reduces the chances of scratching parts when being ejected
- Reduces the need for unconventional, complicated and expensive ejection setups
- Helps reduce post-production finishing costs caused by defects from manufacturing
{{cta-banner}}
Key features of draft angles
All parts and features will require a different draft depending on what is being prioritised in the design. Minimum draft? Maximum tool life? However, there are some general industry guidelines that are useful to follow.
Add as much draft angle as possible
It is always suggested to give as much draft angle as possible in your designs to reduce friction on the part and mould. A good rule of thumb is to add at least 1 degree for every 25mm of cavity depth. The minimum advised draft angle is 0.25 degrees on vertical surfaces. For shutoff (metal on metal in the mould), add a minimum of 3 degrees of draft due to increased friction.
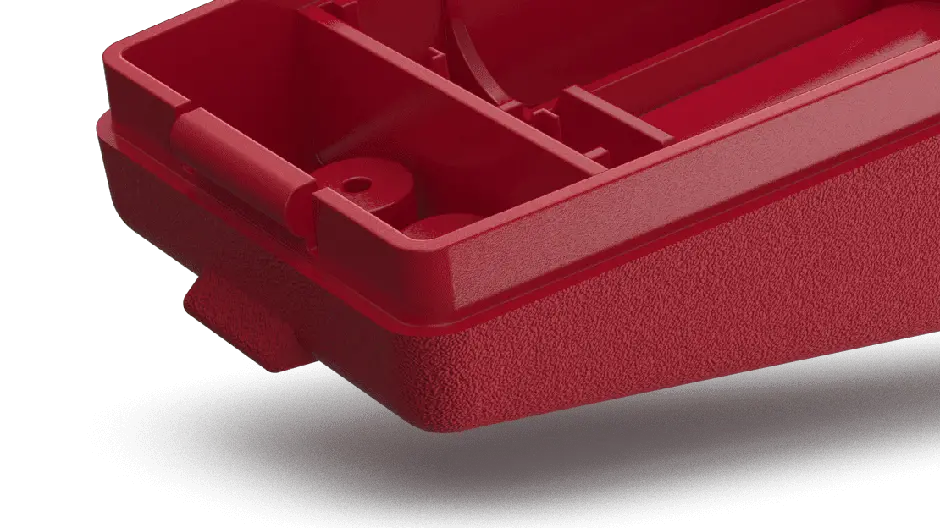
Increase draft for textured parts
If your part has a textured surface, it will be harder to eject from the mould due to the increased friction. Therefore parts with textured surfaces require additional draft angle to smooth surfaces. It is recommended to add 1.5 degrees for every 0.025 mm of texture depth.
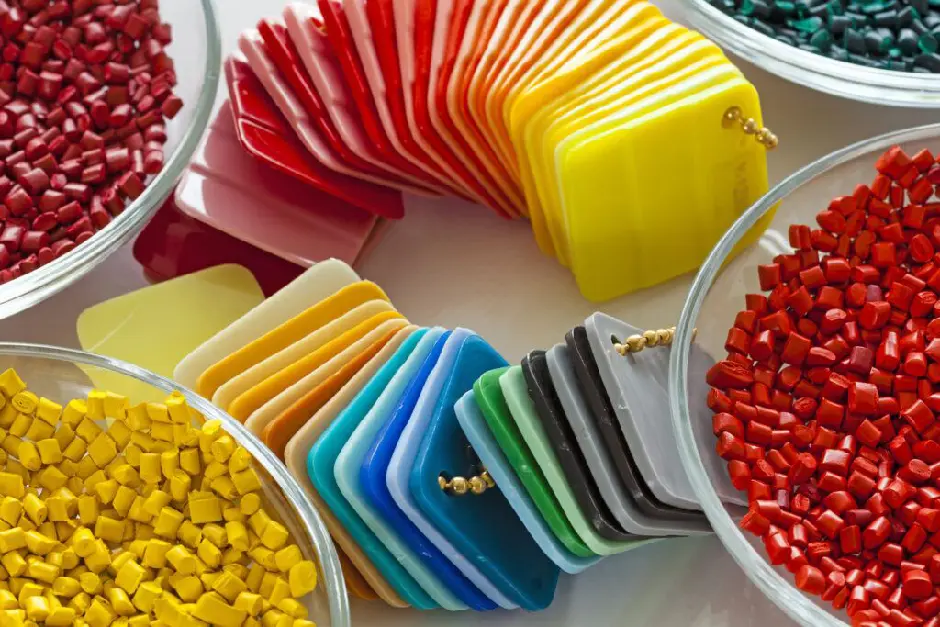
Material effects draft angle
A material's characteristics also affect the amount of draft required. The more a material shrinks when cooling, the more it grips onto the mould, therefore requiring a greater draft. On the flip side, if a material is soft and flexible (like nylon), the draft angle can be reduced and sometimes even removed entirely.
Do I need a draft angle for my injection mould design?
Almost all injection moulded parts require some draft to be added to faces/features, and it is always better to air on the side of caution by adding more draft than less. Without adding a draft, your part runs the risk of having a poor cosmetic finish, breaking/bending, or damaging the mould.
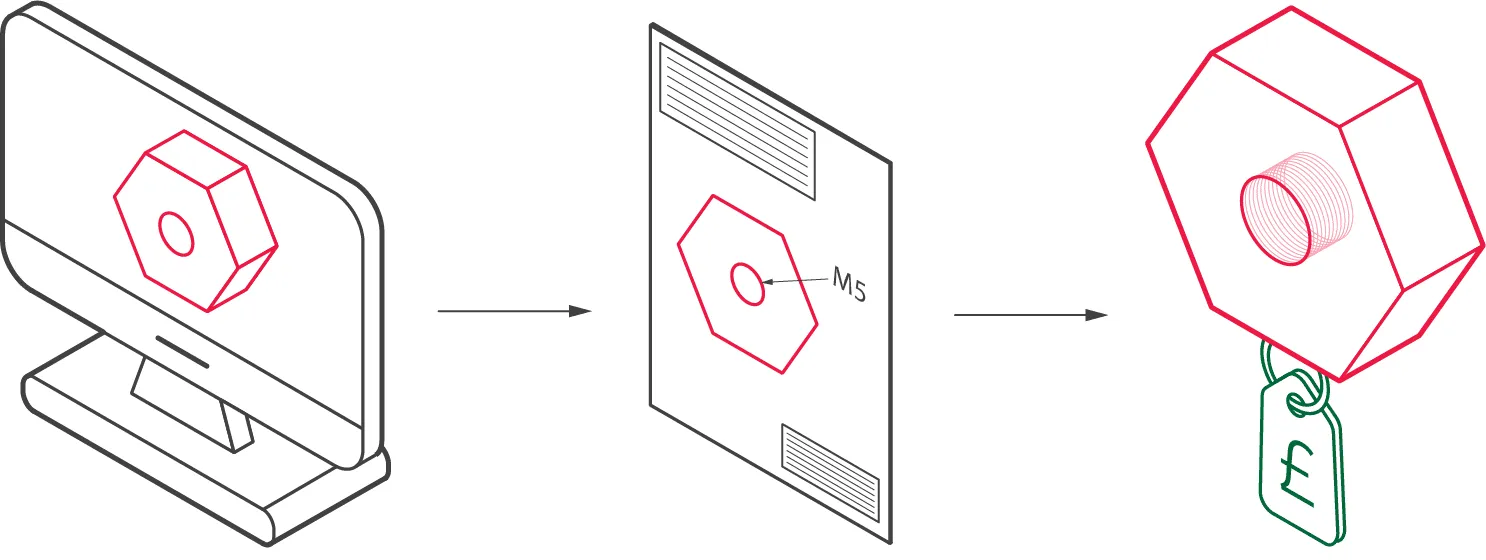
It is recommended to add in draft early in the design process, not just when the part needs to be injection moulded. Often in the earlier prototyping stages, parts will be 3D printed where a draft can easily be forgotten as it is not required. However, it is best practice to design a part for injection moulding the first time around rather than redesigning it for injection moulding. So, always factor in draft in the early stages of prototyping so you can see how it affects the form and function of your part.
How to optimise your design for injection moulding
Use the rules above as general guidelines when incorporating draft into your injection moulded parts. Although important, adding draft is just one design consideration when effectively designing a part for injection moulding. Check out our Injection moulding guide to find out what other best practices should be considered when designing a high-quality injection moulded part. If you require some design for manufacture advice, feel free to contact Get It Made today to arrange a quote for injection moulding needs.
Leave it to our manufacturing specialists
Get a 24 hour, engineer made quote and design review to start your manufacturing project off on the right foot

Get your production-ready quote in 24 hours
All projects are reviewed by real engineers to ensure accuracy, catch mistakes and unlock DFM improvements


Our services
From 3D printing to CNC machining, we’re experts in manufacturing bespoke precision parts on tight time-frames
Other services
It’s rare you only need CNC machining services. We offer 3D printing, moulding, casting, extrusion, fabrication, assembly, welding & more.
Get your production-ready quote in 24 hours
All projects are reviewed by real engineers to ensure accuracy, catch mistakes and unlock DFM improvements
Working with Get It Made for all our prototyping was an absolute pleasure. Next to immediate response, fast lead times, often arriving before the stated date. Their attention to detail and customer service were second to none. and all at the most competitive price point that could't be beaten in the U.K.

Get It Made are at top of their game when it comes to reliability and quality. We trust Get It Made to deliver parts on time and within tolerance. We can't speak highly enough of their customer service. Get It made are quick to reply to enquiries and keep you well informed throughout the whole process.

Get It Made were able to deliver an accurate and quick service delivering a set of high fidelity prototypes expertly finished, ready for user testing. They offered a range of fabrication options and materials to choose from, tailoring the service to our specific budget, timeframe and material requirements. Can't recommend enough.


Get It Made have over the years been able to take on from simplest to the most complicated of jobs with ease, providing expert advice, good prices and reliable lead times. No job has been too big or too small, either in size or volume. We would strongly recommend Get It Made; you won't be disappointed!

We initially started working with Get It Made, as we needed a high quality product developed within a very short lead time. The entire process went very smoothly and we received the products ahead of schedule. We were pleased with the final results and we found working with Luke very easy, as he offered good technical advice.

When we were looking to have parts manufactured, we had tight deadlines with an even tighter budget. Get It Made understood our constraints and worked with us closely to get our parts to a higher standard than we expected. I can not recommend Get It Made enough. They are professional, communicative, and the parts are fantastic.

The Get It Made team are very responsive and knowledgeable, fully owning a project throughout, providing superb communication. Transparent pricing structure and rapid quotation turnaround is by far the quickest I've experienced, reducing time to manufacture. Get It Made are a pleasure to work with.

Bespoke quote in 24 hours
Get It Made is proud to provide a human service. Get a quote and free design review by an experienced engineer to see how we make manufacturing simple.